Virtual Pinball Decal Printing Service

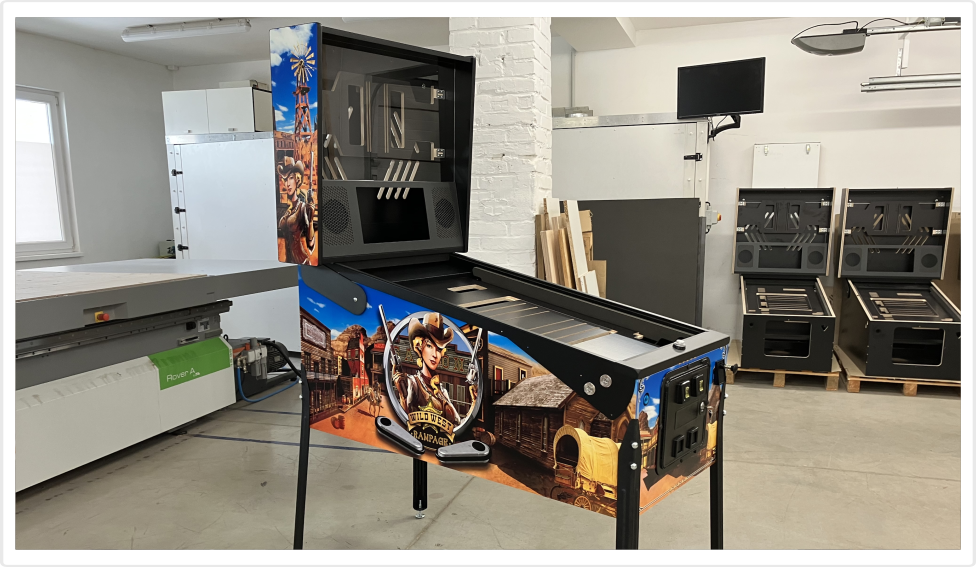
We offer high-quality decal printing services for our TUKKARI Vpin cabinets. Both printing and lamination are done in-house, right in our workshop, and the decals are made to perfectly fit our cabinets.
You can order the printing service together with your Vpin cabinet or at a later time. We offer this service not only for TUKKARI cabinet owners, but also for other types or sizes of Vpin cabinets – in such cases, we print exactly according to the dimensions of the supplied artwork, without any further adjustments on our part.
More
Manufacturer: Tukkari
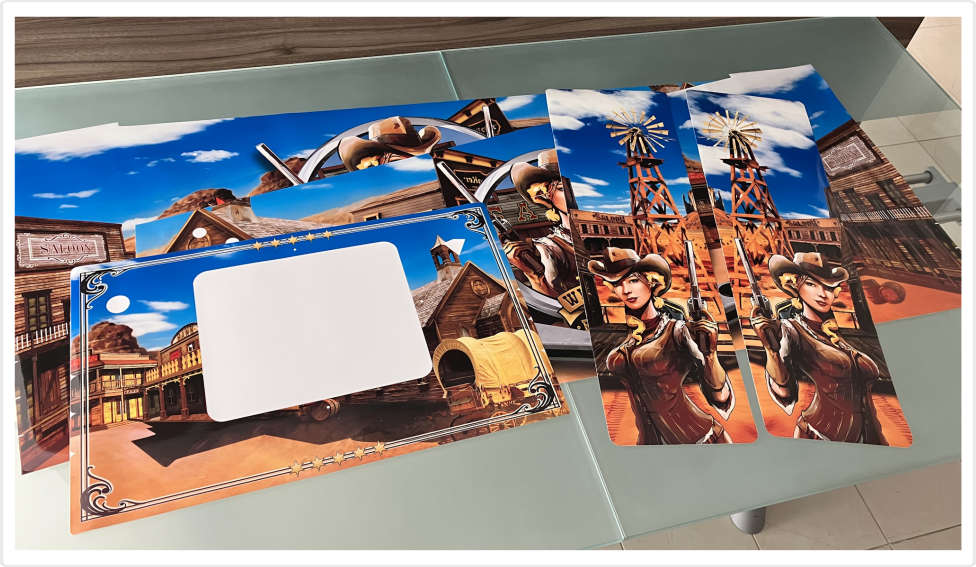
What artwork can be printed?
We can print your own artwork, or you can choose one from the designs we have. Feel free to contact us via email before purchasing this service to discuss the current possibilities.
If you decide to provide your own artwork, you can download the DXF files and Illustrator templates here to ensure your design is the correct size for the cabinet. Please do not attempt to send us your large files via email. Instead, use a free file transfer service such as WeTransfer.com or a similar platform.
We accept most common file formats, with preferred options being .AI, .PSD, .PDF, TIFF. Artwork must have a resolution of 300 dpi (CMYK) to ensure high-quality printing.
What if you have a Vpin cabinet of a different size?
We offer this service not only for TUKKARI cabinet owners, but also for other types or sizes of Vpin cabinets – in such cases, we print exactly according to the artwork you provide, without any further adjustments on our part. Please send the artwork for each cabinet part as separate files. We must be able to arrange them ourselves to ensure optimal use of the roll with polymer film. Technical requirements for print files – see above.
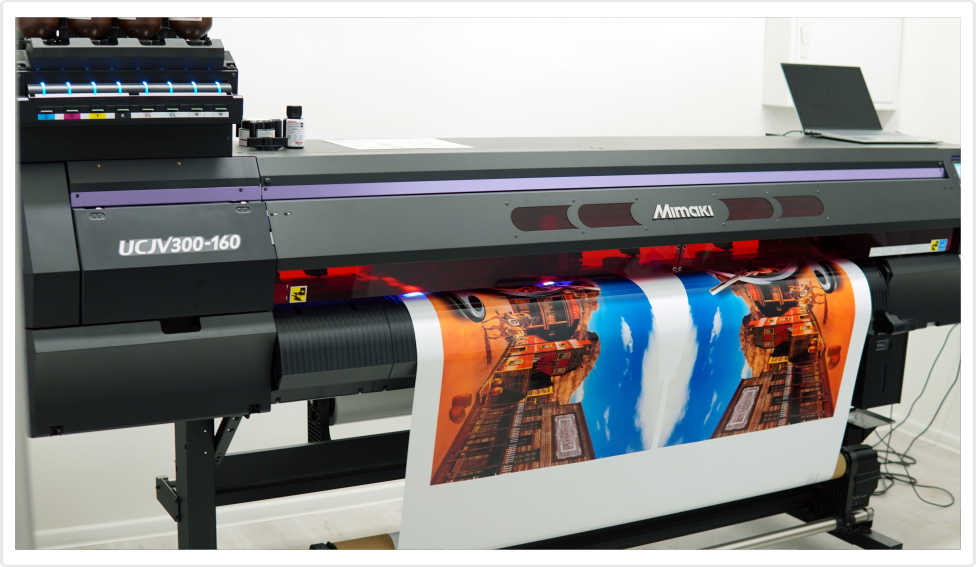
What is our printing technology?
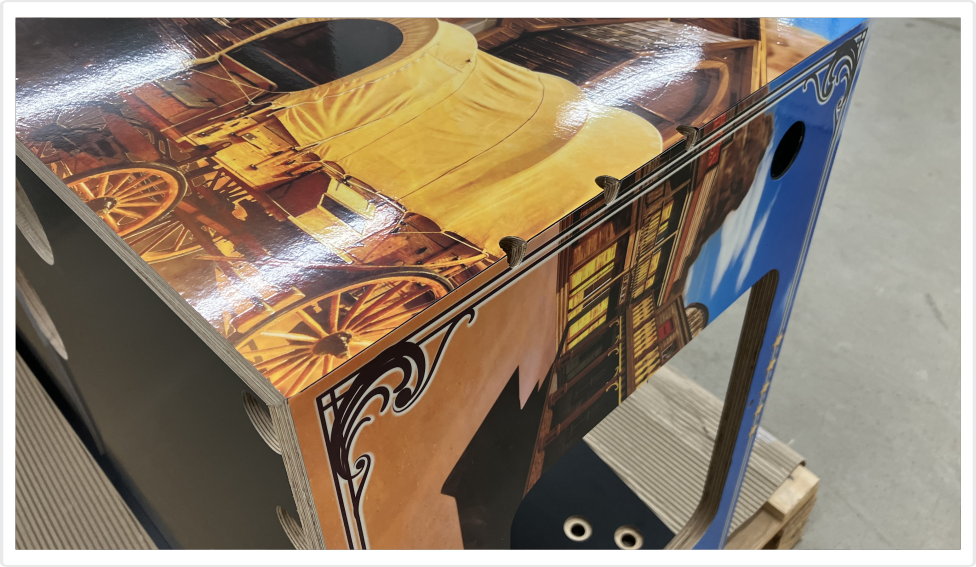
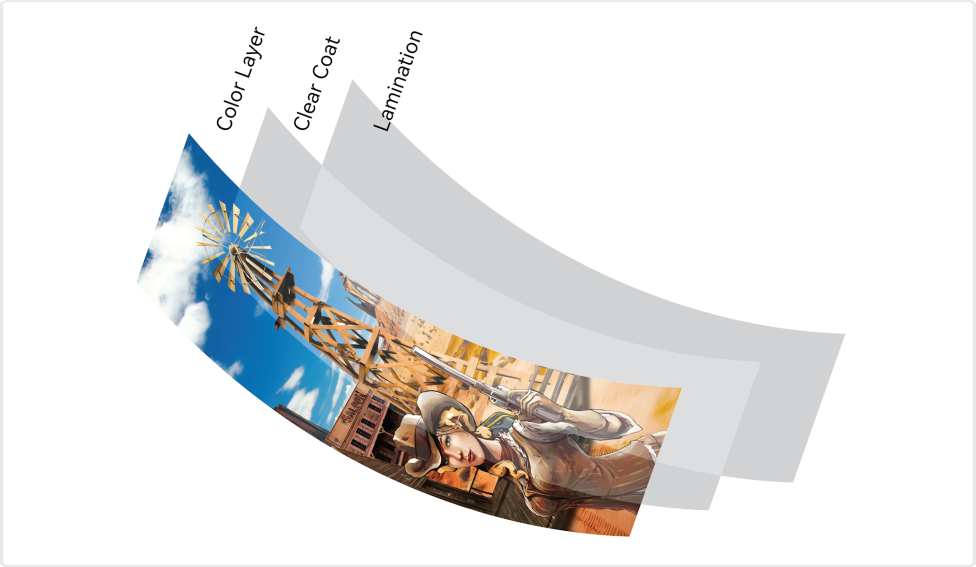
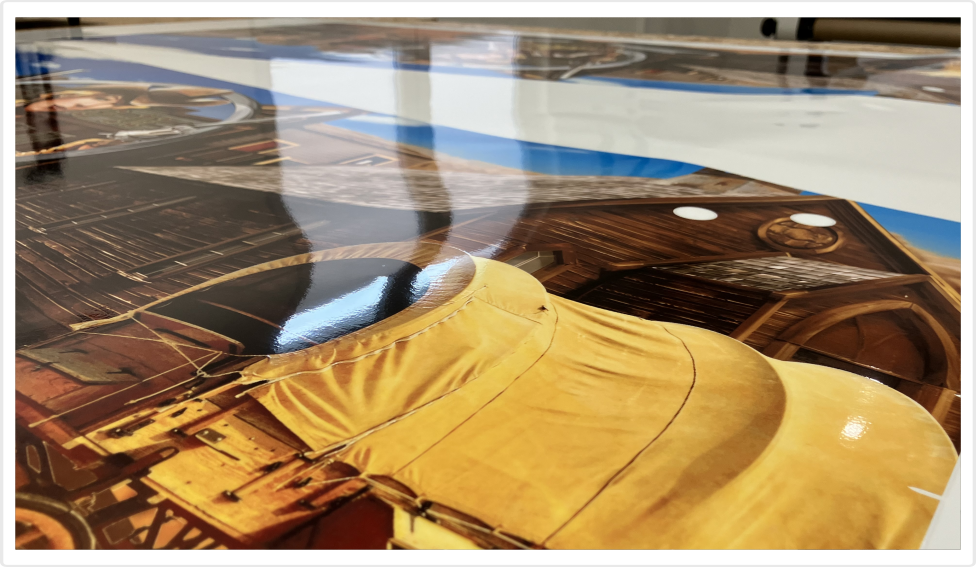
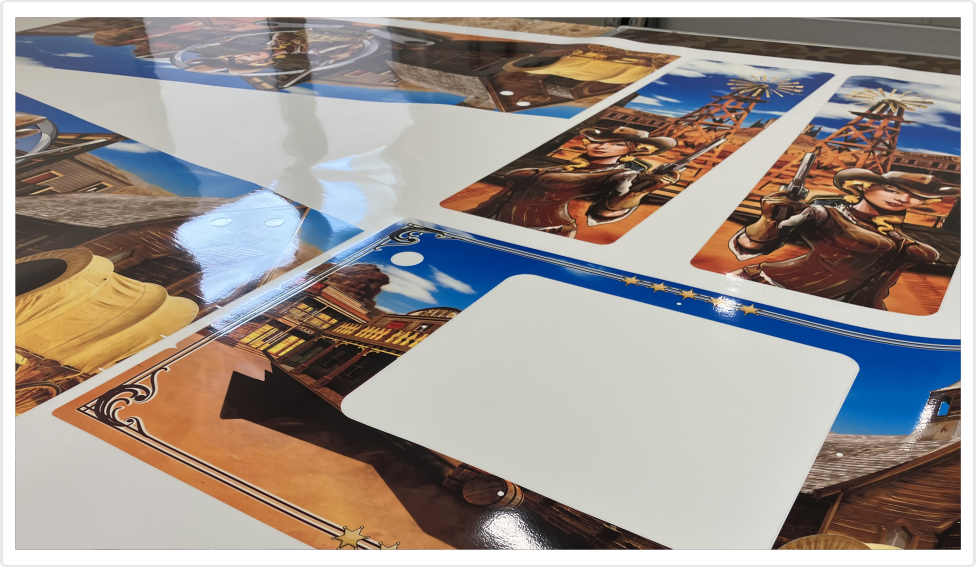
Our top-of-the-line MIMAKI UCJV300-160 printer uses UV-cured inks, ensuring durable, UV-stable, and vivid deep-color printing - including a rich, fully saturated black. To further enhance color depth, we apply a clear gloss coat on top of the surface. Both processes are performed by the printer simultaneously. Once printed, the artwork is left for a day to fully cure and then hot-laminated for added protection.
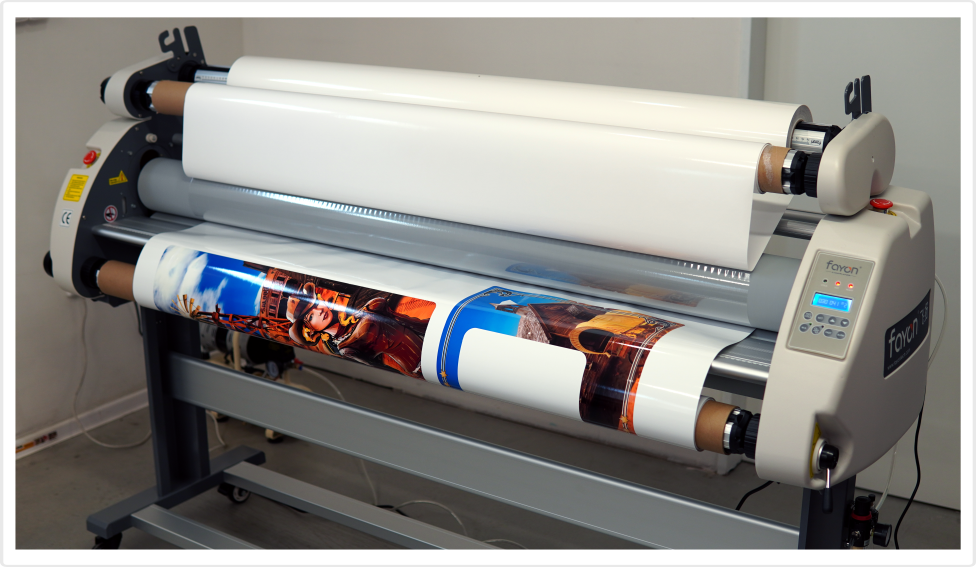
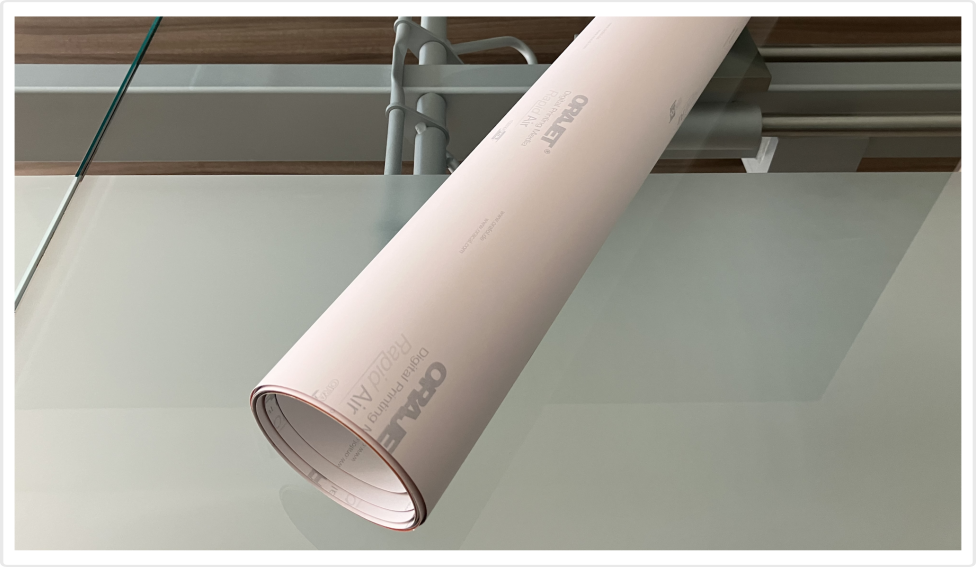
What film do we print on?
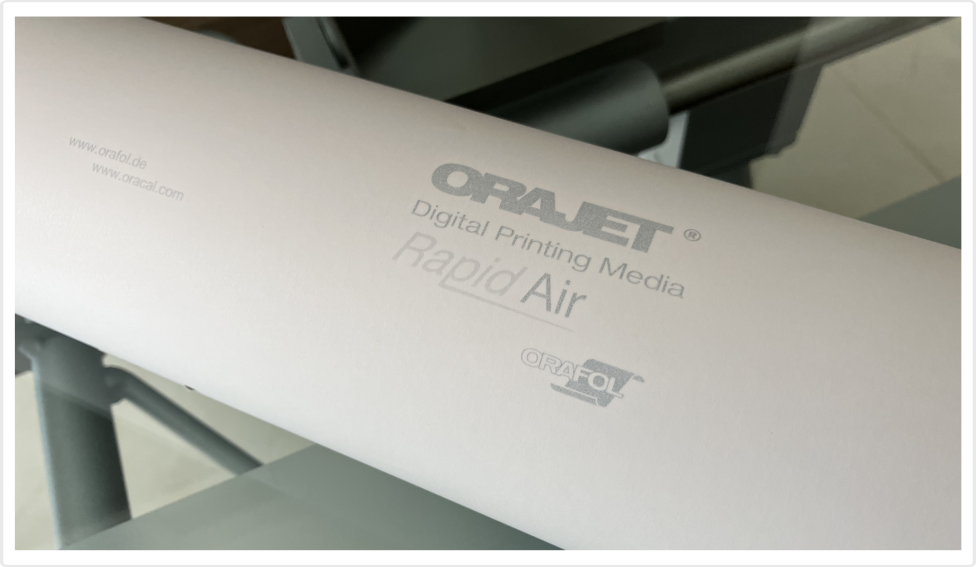
We use high-quality Orajet 3651RA white gloss polymeric film for our prints. “RA” stands for Rapid Air (often called bubble-free), a unique technology that basically eliminates the common problem of bubbles after application. If you still notice a few bubbles after application, simply and gently tap them with your finger, and they will disappear.
Important notice!
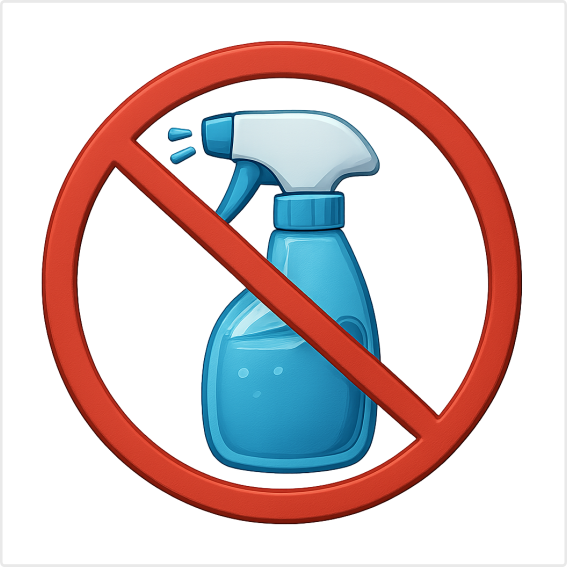
Rapid Air technology allows only dry application. Do not use soapy water or any other liquids on either the decals or the cabinet surface. If the decal comes into contact with liquids, it will not stick, and you will more than likely ruin it.
How will your decals be shipped?
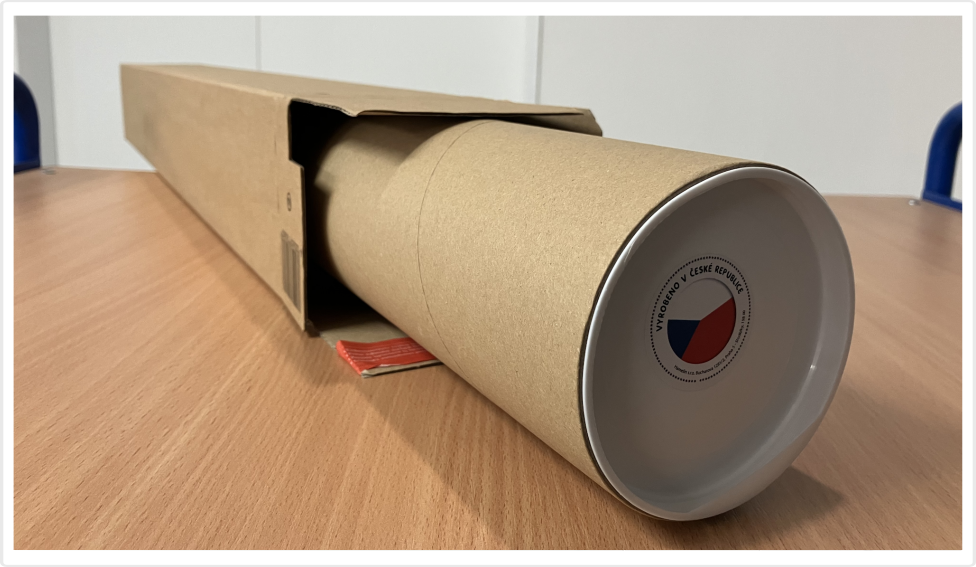
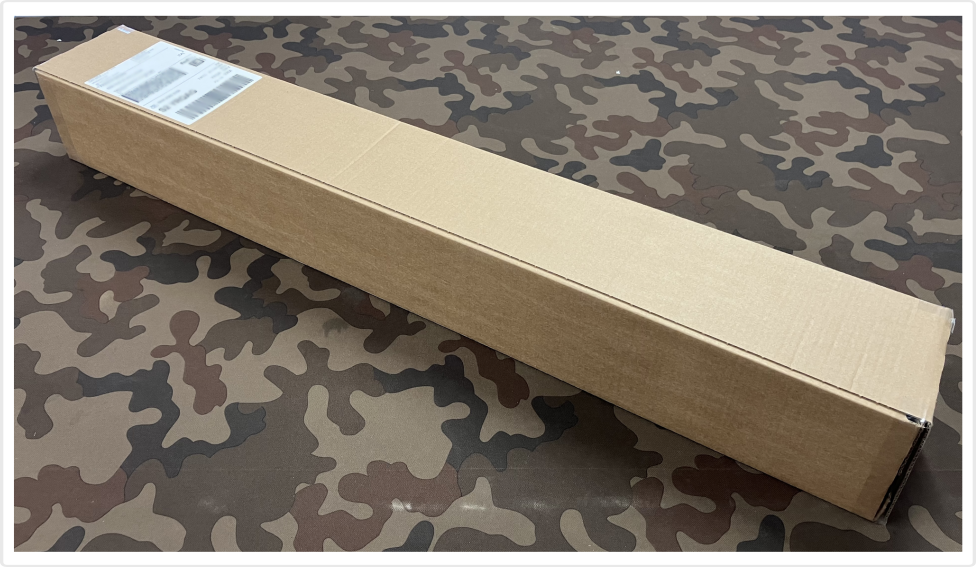
If you order the decals together with the cabinet, we will pack the roll with your print directly into the shipping crate with your Vpin cabinet – this also saves you on shipping costs. If you order the printing service separately, we will ship your decals in a sturdy cardboard tube, which is then placed inside an additional cardboard box. This way, we provide double protection for maximum safety of your decals.
What is the recommended application process?
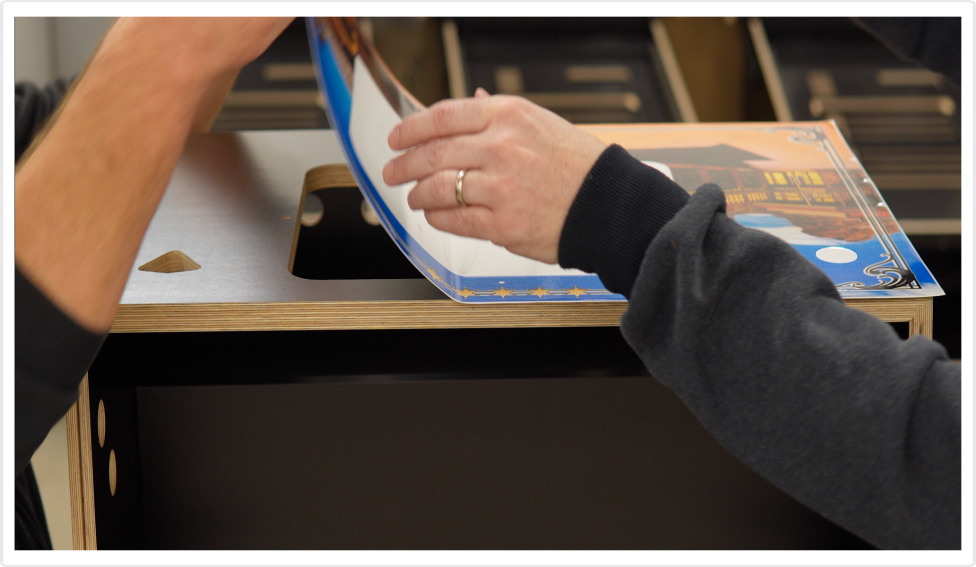
1. Unroll the decals and leave them on a flat surface for at least 24 hours to fully straighten.
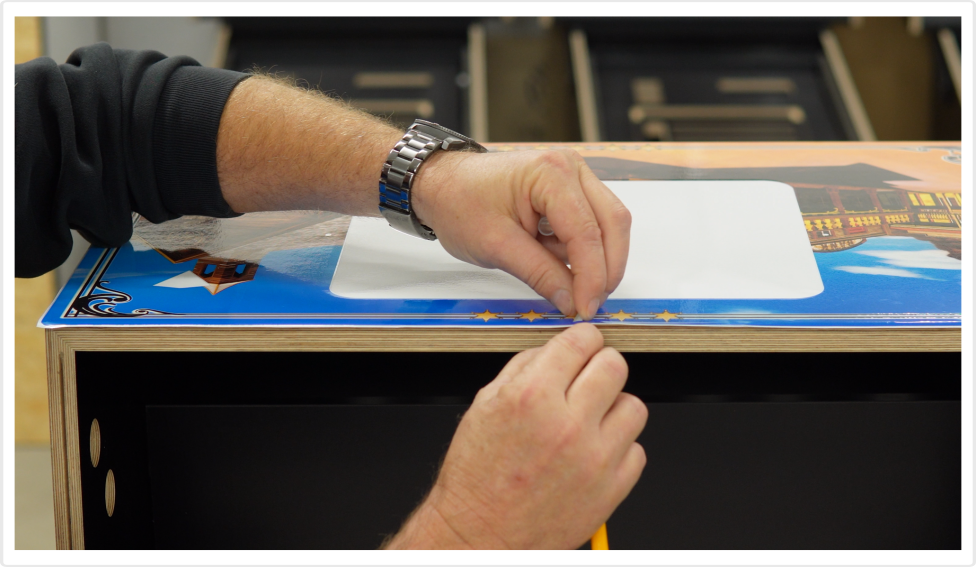
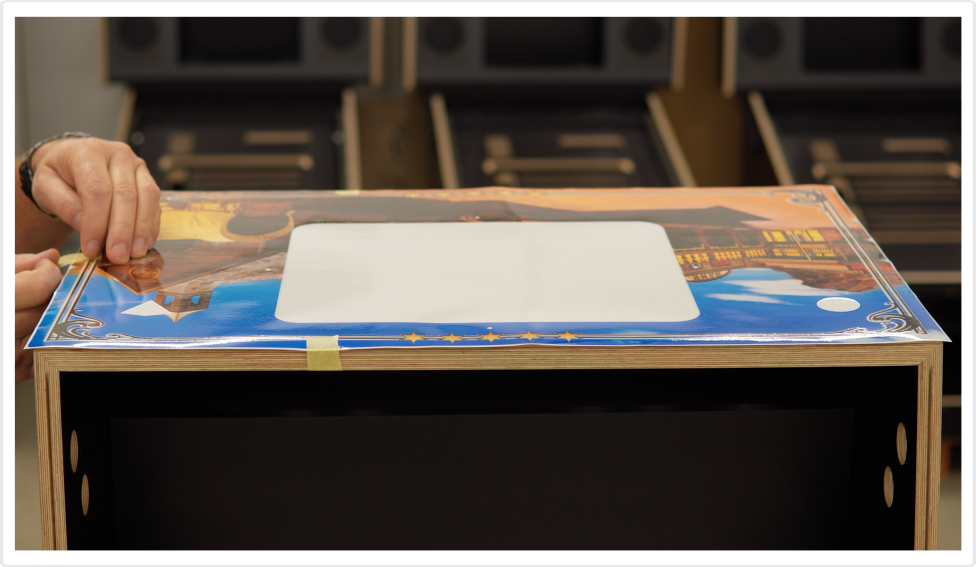
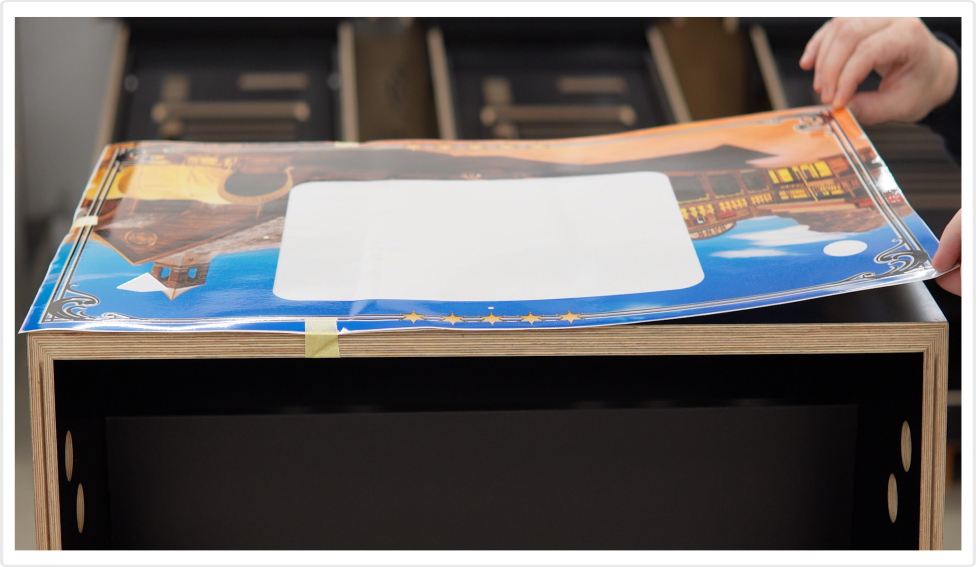
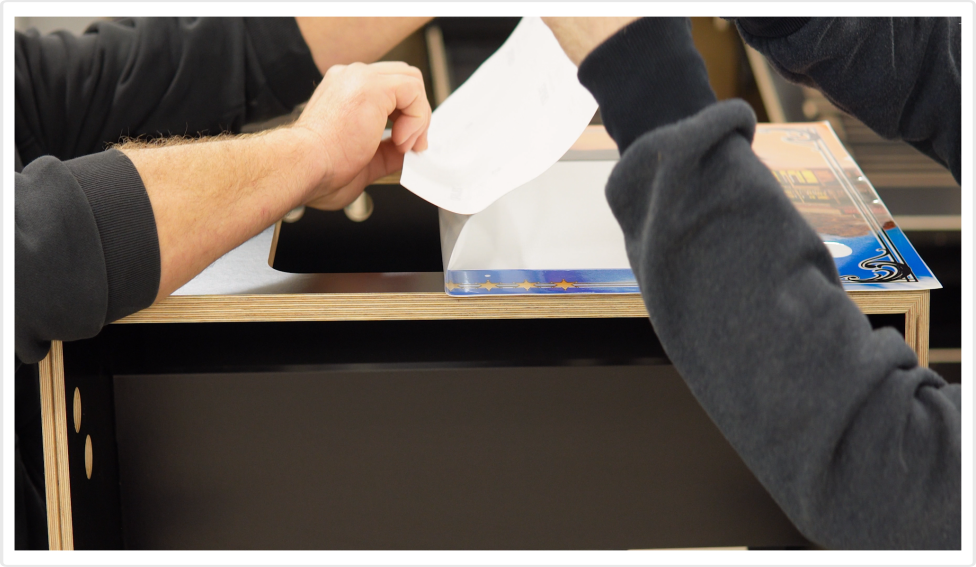
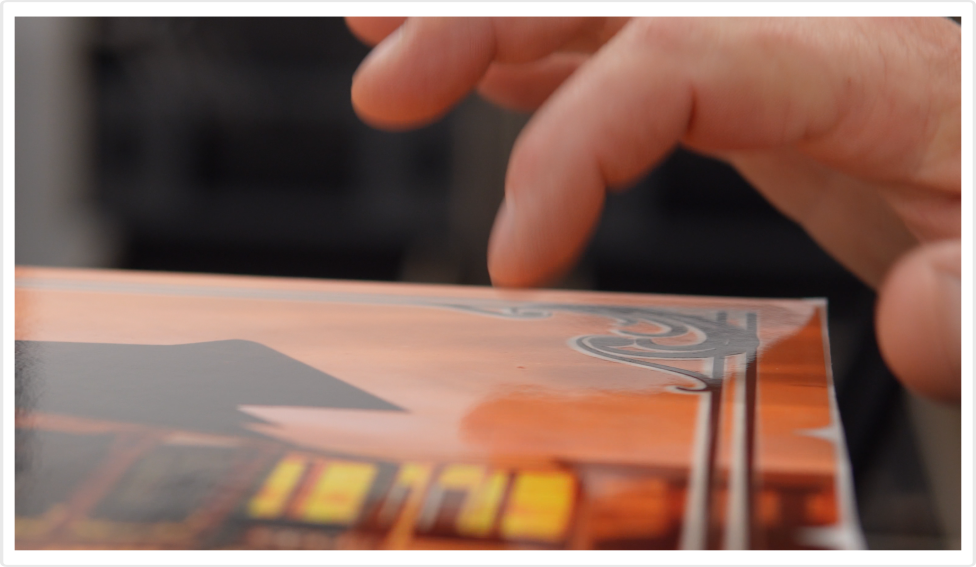
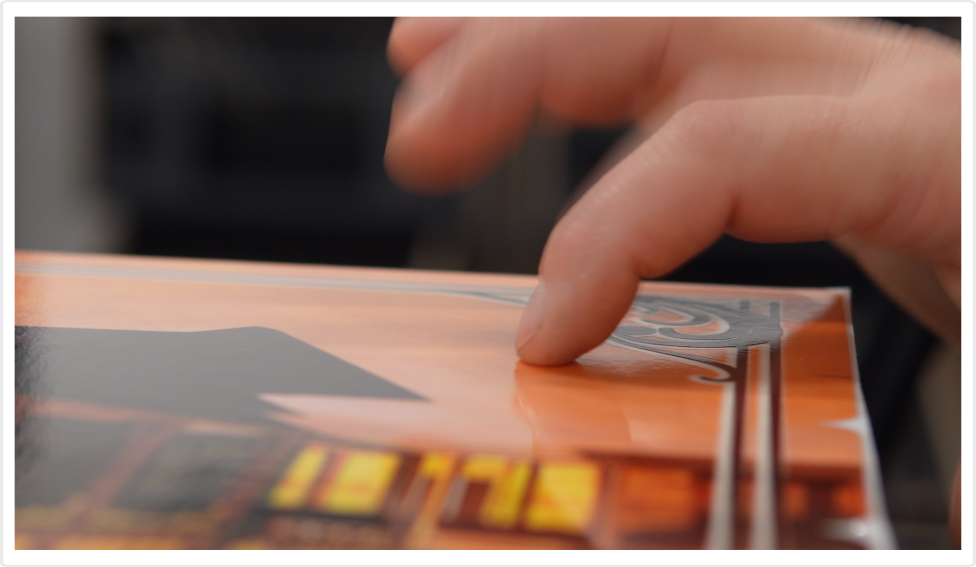
2. Make sure the cabinet surface is clean and completely dry. Avoid using soapy water or any other liquids. Your decals are for dry application only! Then position the artwork as accurately as possible, leaving approximately 6 mm of excess at all edges. Use paper tape to attach roughly half of the decal to the cabinet, making sure it cannot move.
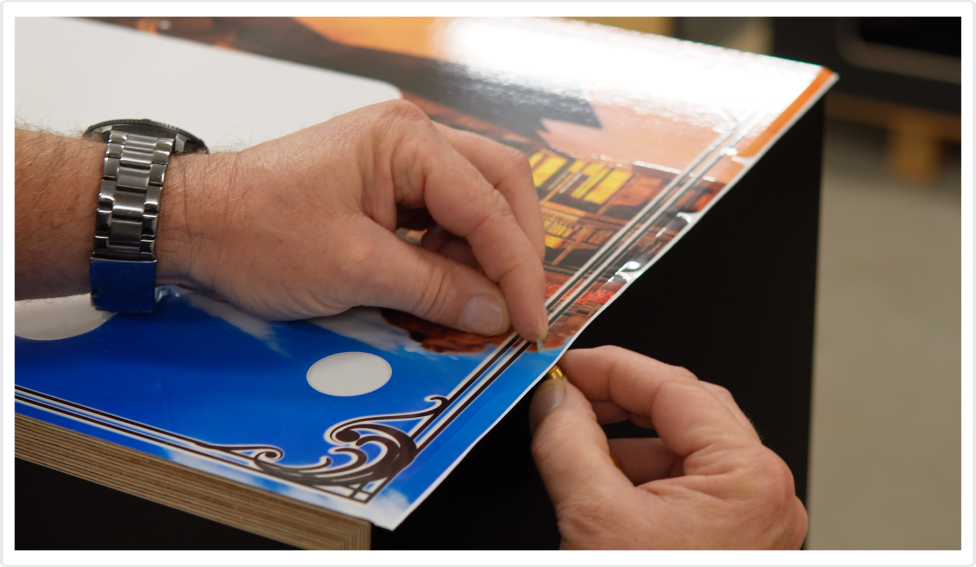
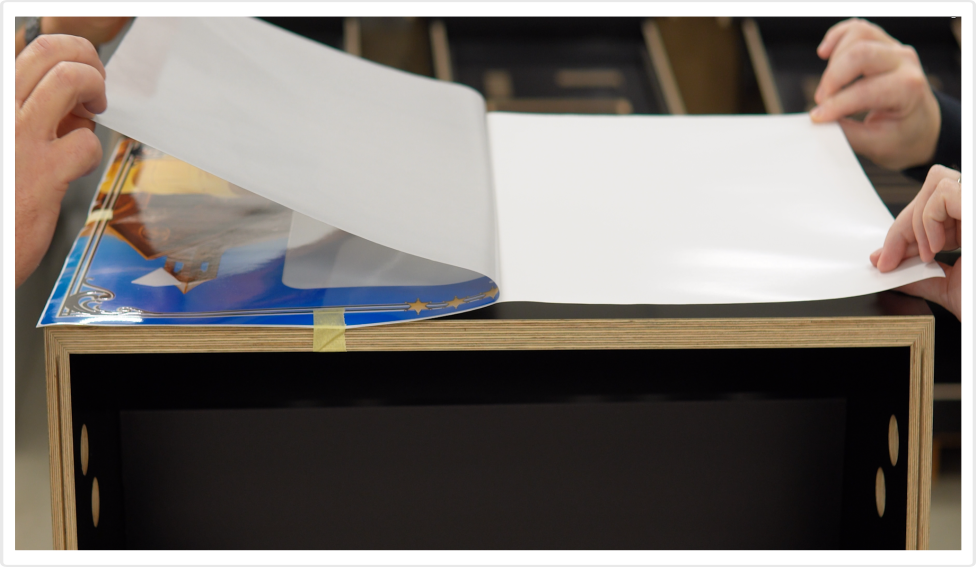
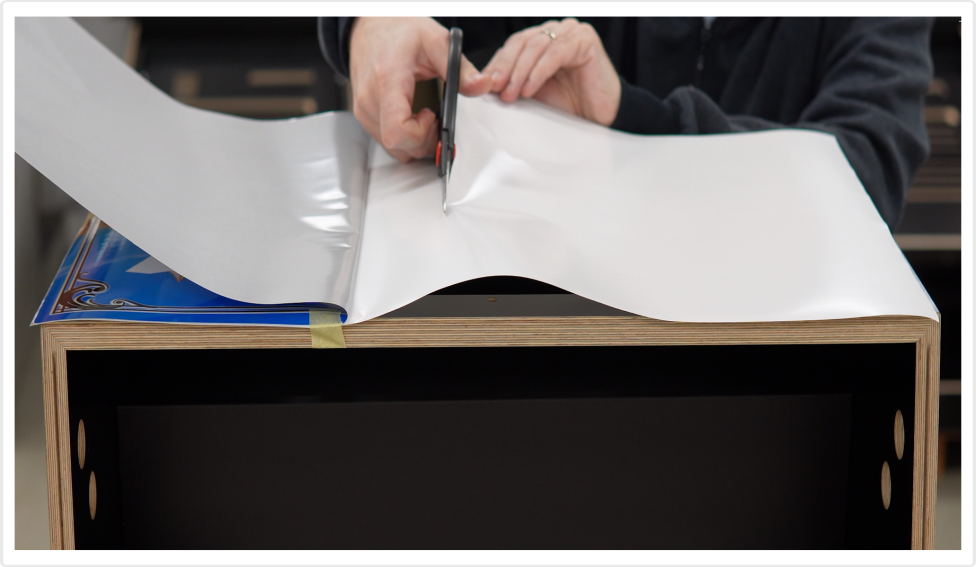
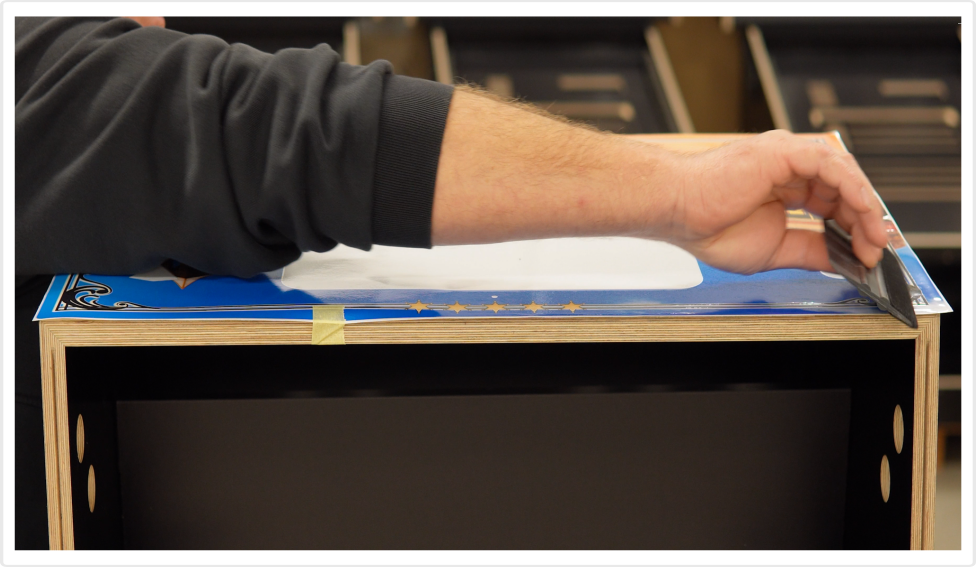
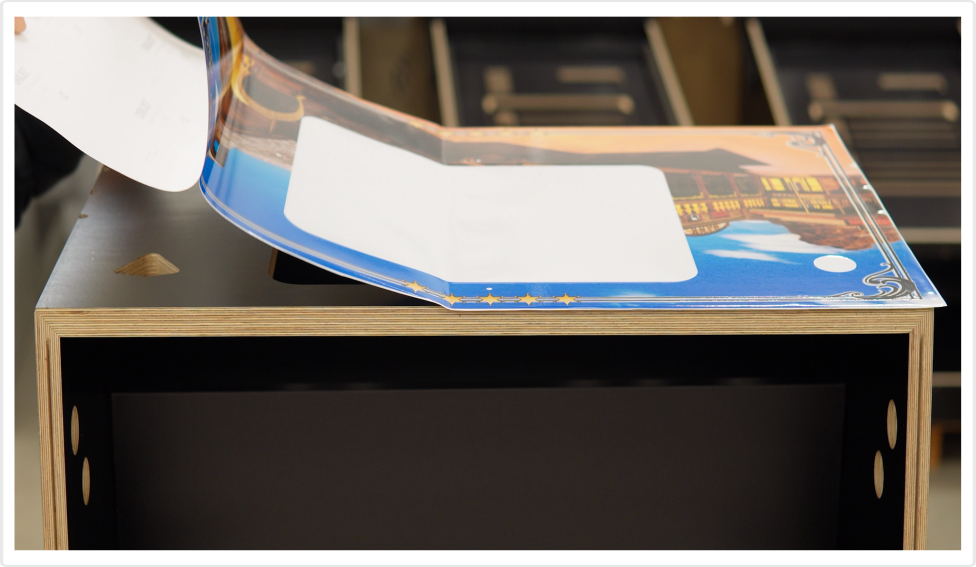
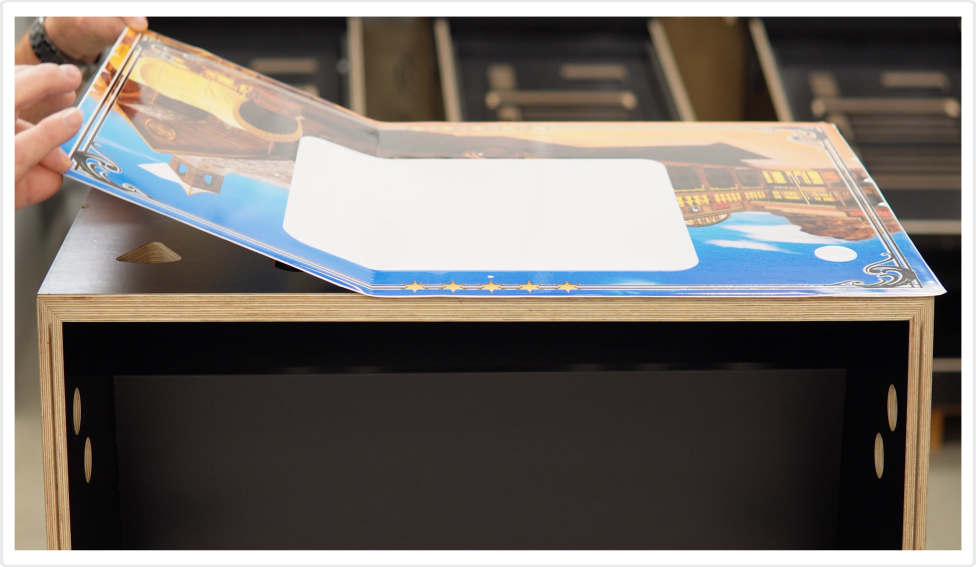
3. On the side not attached with tape, carefully peel away the backing paper and use scissors to trim detached section. Check again that the surface under the decal is clean and the decal has not shifted, then apply. Use a felt squeegee to finalize the process.
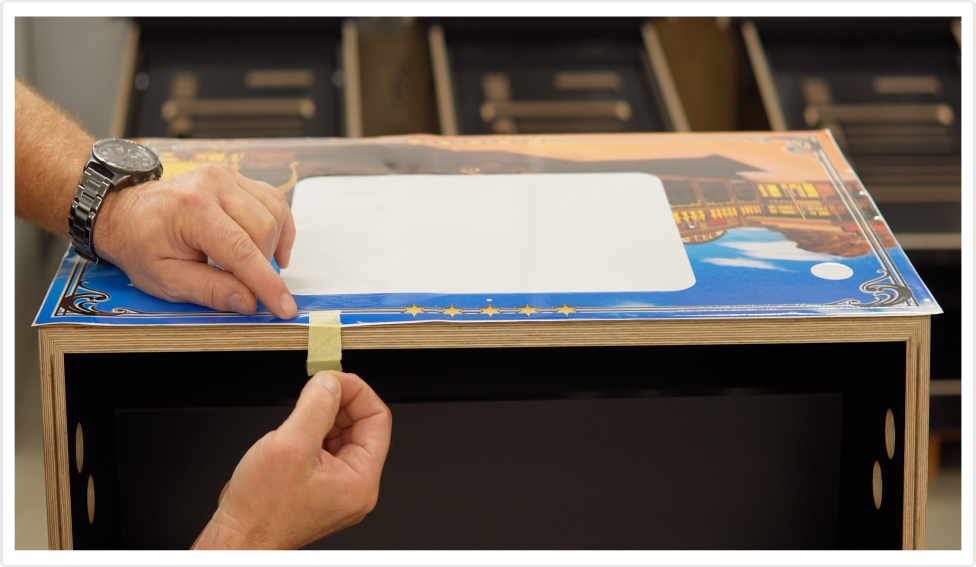
4. Remove the paper tape and repeat the process for the second half of the decal.
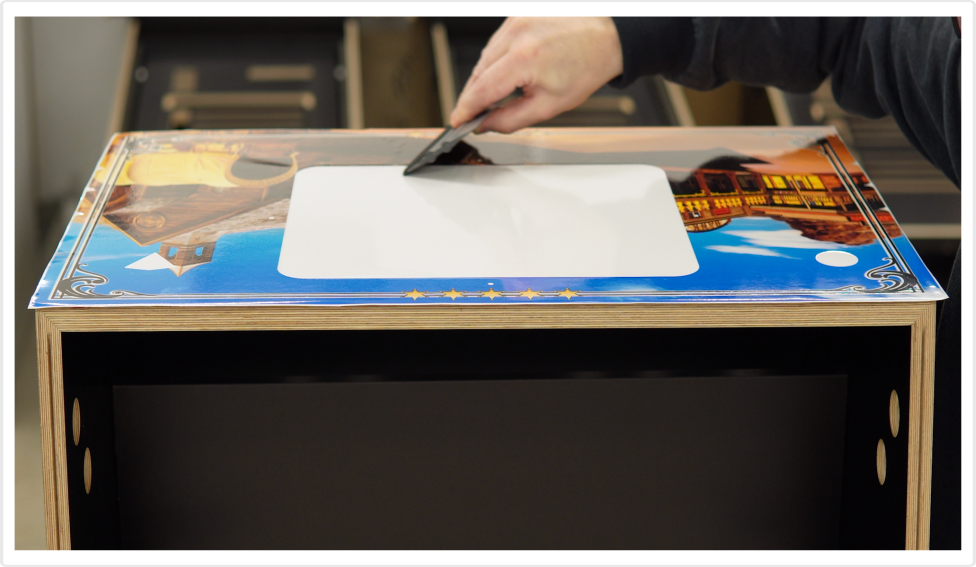
5. Do not try to push out bubbles; instead, gently tap each bubble a few times with your finger, and they will disappear thanks to the Rapid Air technology.
6. Use a hobby knife to carefully trim away the excess decal. Just as carefully, make the internal cuts.